Friday, September 23, 2011

DIY: Nail Patterns

Who needs nail salons when you have scotch tape?!

What you will need:
2 different nail polishes
scotch tape
scissors
& your fingernails!!


First, apply a base coat of one of the colors.  We recommend using the lighter color on the bottom.


Let nail polish dry COMPLETELY before the next step!!

Next, cut tape into desired pattern.  You can use regular scissors to make your own, or you can use decorative scissors as shown in our picture.


Apply tape to all nails.  Make sure to press firmly on the tape.  You do not want your next color to run under the tape!


Begin painting your other color on your nails.


Let your polish dry completely before you take the tape off.

Once dry, remove tape and paint a top coat on nails.


Now you have a manicure that all of your friends will be jealous of!!

Monday, September 19, 2011

DIY: Scrapbook Tree


Have a spot in your home or apartment that you have been wondering what to put there to decorate?  Try a scrapbook tree!  

What you will need:
Vase (Got ours on clearance at Joann's for $2.97)
Scrapbook Paper (Joann's sale 4/$1)  We used 10 sheets.
Floral Wire
Sticks (From the great outdoors)
Elmer's Glue
Scissors


Jenna picked these off a bush outside :)

First things first.  We took the leaves off of the sticks and used one of the leaves to create a stencil for the scrapbook paper.  One of us traced the stencil on the paper while the other cut the little leaves out.


Then, cut your floral wire in sections about 3-4 inches in length.  Take one leaf and apply a strip of glue across the back of the paper.  Place the wire on top of the glue, and then put another leaf on top securing the wire in the middle (like a sandwich!).  Make sure that the wire goes through the whole leaf or it will not have enough support, and it allows to you bend the leaves!


Next, take your tree branches and begin wrapping the wire around.  Get creative!  You can put the leaves however you want.  Bending, straight, whateva!


Continue wrapping until the sticks are full of beautiful scrapbook paper leaves!  Remember not to wrap the leaves too closely to the bottom of your branches because they do have to go in a pot.


When you are satisfied with your sticks, place them in the pot and wallah!!  You have a beautiful scrapbook tree that never requires any water!  So no worries about killing it.

   
Happy crafting!


Saturday, September 3, 2011

DIY: Melted Crayon Art

One of the simplest, yet coolest art projects you will ever do.

What you need:
Canvas
Crayons
Hot Glue Gun
Blow Dryer

....THAT'S IT!

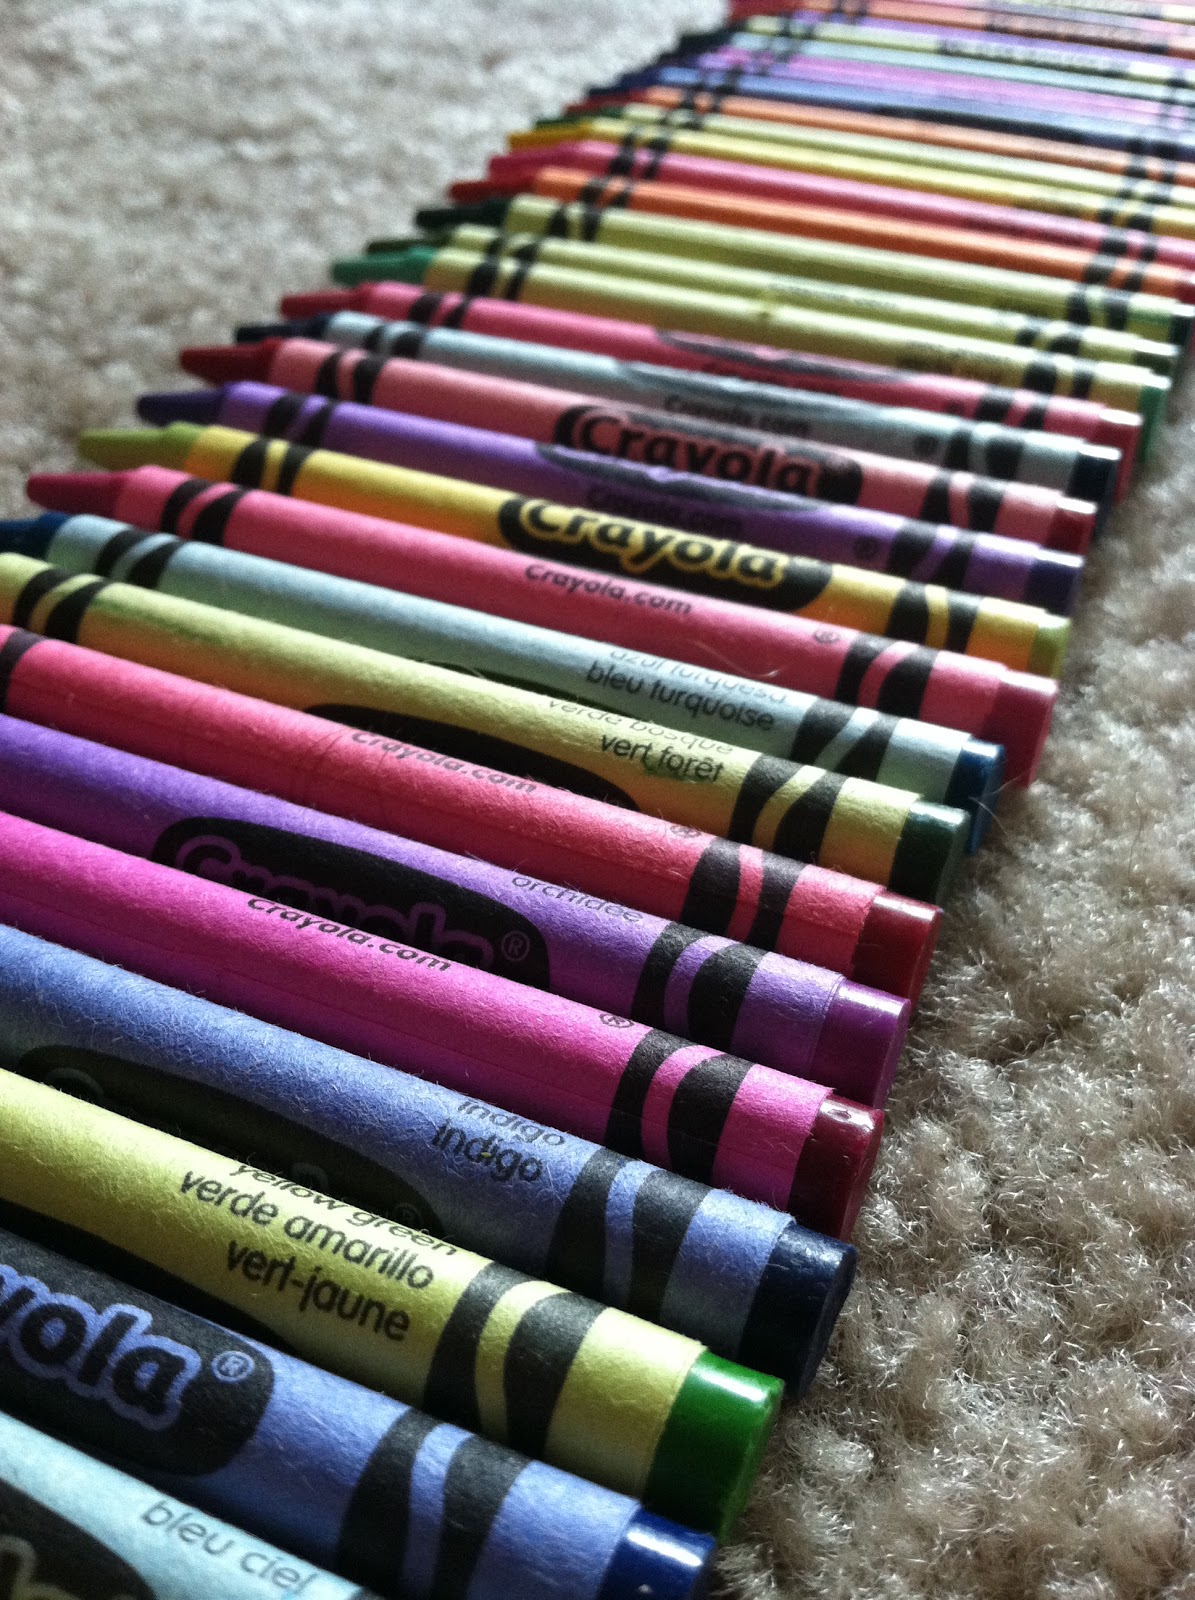
We used a pack of 64 crayons and took the browns, blacks, and white crayons out.


Then take all of the crayon wrappers off


We then put the crayons in the order we wanted them on our canvas.  We tried to do a rainbow theme and mix some colors so that the melting part would look cooler :)  You can use whatever colors you want.  If you wanted to make a football themed canvas, you could use the colors of your favorite team.  Just make it how you want it!


Then we began to hot glue the crayons onto the top of the canvas with the point facing downward.  We started putting a strip of hot glue onto the crayon and then placing it on the canvas, but the crayons were melting and it just was not working out.  If you put a small strip of hot glue onto the canvas and then place the crayon on top, it works a lot better.


This is our canvas before we started melting!!


We put the canvas outside on a plastic bag for 15-20mins to help soften the crayons before the blow dryer (just keep an eye on it because you don't really want them to start melting completely yet).

Now here comes the funnn!!!!
Tilt your canvas so that when the crayons start melting, they run down.  Make sure you have something under and behind your canvas so you do not get crayon wax all over the place (we used old plastic bags).
Start blow drying on high high with blow dryer pointed downwards.  If you hold the blow dryer facing straight towards the crayons, the wax will splatter everywhere!  Trust us, we know.  You want it melting downward!

Like this!

Melt crayons until desired artwork is created!


Let the crayons cool off and the wax harden.  We brought ours inside to cool.  It was so hot outside we didn't think it would ever harden.


And you're finished!  Now you have a wonderful piece of DIY artwork that all of your friends will be asking how you made it!

We have a few more designs that we want to try with melted crayon art, so we will make sure to keep you posted on the results!

Have fun crafting!


Friday, September 2, 2011

DIY: Button Earrings

Do you have some old earrings lying around making you wonder why you ever bought them?!  We do!
Spice them up with a simple DIY project.

What you will need:
- Old Earrings
- Glue Gun
- Buttons


These are the old earrings we chose to re-do (yes these were purchased back in 7th grade!)
Please notice how one eye is bigger on the right smile.  Awkward.

Spontaneously choose a button color for your earrings.  If you bought a new outfit recently, maybe design your earrings to match.  I chose purple since purple is my favorite color!


Heat up your glue gun and place a small dot of glue on the back of your button.


Smash the old earring onto the button, and let the glue cool.  Make sure to remove any of those weird stringy things hot glue makes!


Aaaand you're done!  Quick, easy, cheap.


These are the earrings Jenna made!